My Cart
0
You have no items in your shopping cart.
The second in our series of blogs on simple decking repairs, this week we’re looking at another of the most common decking issues. We’re turning our attention to dealing with ‘unstable newels’ (or – in other words – wobbly framing posts).
Much like when we wrote last week about replacing broken or rotting decking boards, you’ll be pleased to hear you don’t need to be especially tooled up to tackle this one. You might find yourself having to make the repair several times over the years though, so it helps to get it right first time.
You’ll mainly just need:
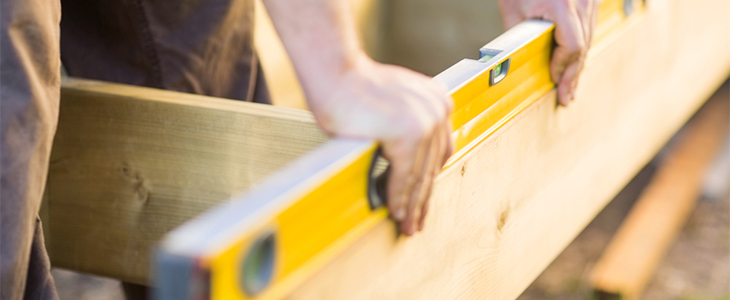
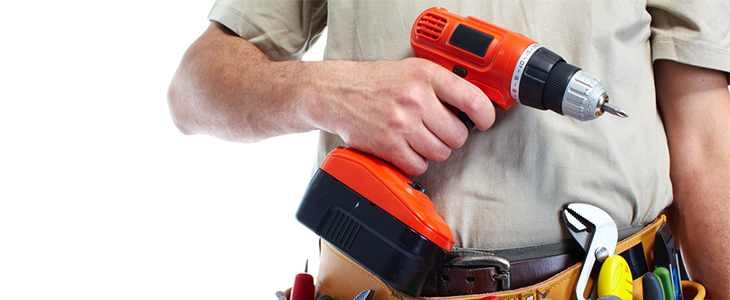
The very first thing you’ll need to do is measure the thickness of the newel post. (To be honest, at Savoy Timber we find it easier to do this using the Imperial system, but it’s up to you!). Once you’ve got that measurement, add an inch to it, then buy two ½-inch-diameter coach bolts of that length plus a nut and a washer for each one. So, for example, if your newel is 4 inches long, you’ll want 5-inch coach bolts. Then use the drill to drill ½-inch-diameter holes through the post and framing. Make sure you set them well apart, with one about 1-½ inches from the top of the framing, and the other about 1-½ inches up from the bottom of the post.
It’s possible that your drill bit won’t be long enough to go through the post and framing. It happens! In this case, the obvious solution is to buy a longer drill bit, but a long spade bit will do the job just as well. You can get versions of up to 16-inches long at DIY shops.
Important tip: make sure you offset the holes, otherwise you might accidentally split the post! Drill them at a slight angle so that you avoid hitting the joist hangers, the framing anchors or any other obstructions.
That’s the tricky bit done! Just take a moment to make sure that the posts are aligned properly – they should be pointed straight up, not twisted or at a slight angle. If they are, you might risk damaging them, which you’ll recognise as being completely the opposite point of a repair. Tap the coach bolts through the holes with a hammer – gently! When it comes to DIY, it’s always best to err on the side of caution.
Install the nut and washers on the other ends of the carriage bolts, then slowly tighten the nuts until the bolt heads are set flush (completely level and even) with the post. Make sure you don’t over-tighten them, too. They’ll sink into the soft wood without too much effort, and once again if you’re overly enthusiastic you might risk damaging the posts.
That’s the job done! Remember, we’ve said it a lot anyway, but the gentle touch is key throughout. If you’re not entirely confident, take a step back and have another look at things. Never start drilling or hammering if you’re not completely sure of what you want the end result to be – it’s the fast-track to disaster!
Even if things go a bit wrong, we’ve got you covered here at Savoy Timber. We have a range of replacement decking supplies, including newel posts, on our website. On the other hand, you can always pop in to one of our stores in Preston, Blackpool or Wigan, and one of our friendly members of staff will be only too happy to give you some face-to-face advice.
Don’t forget to follow us on Twitter: @SavoyTimber

