My Cart
0
You have no items in your shopping cart.
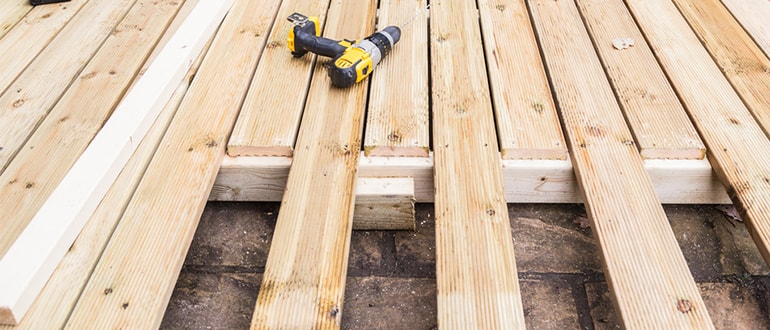
It’s a sad truth that sometimes, your decking can take a bit of punishment. That’s not necessarily a bad thing though – on the contrary, at least it means it’s seeing some usage! And on the plus side, most of the time the damage is quite simple to repair. For example, if your decking boards are rotten or splintered, it takes less than a day’s work to get the problem sorted. Easy. Bear with us, and our latest blog will walk you through it.

Perhaps the most fundamental decking repair you’ll ever face, you might find yourself tackling this one more than once over the years, so it’s always best to get it right first time. You’ll need your replacement decking board cut to size, too.
Here’s what you’ll need:
Now, the good news is that you don’t have to replace an entire board every time you do this repair – which could get expensive quickly! Also, though, you don’t want to go through all the trouble of a repair only to have someone put a foot through your new decking board immediately. To avoid this, cut out a piece that spans at least three joists – the bit you leave behind should also be at least that long, so it can bear the weight of anyone stepping on it.
This is arguably the trickiest bit. Use a stiff, sharp blade for your jigsaw to keep your cuts as straight as possible. (It might be an idea to use a ‘framing block’ of straight-edged wood to guide the jigsaw’s blade when cutting.
Don’t try and cut directly over a joist either, in case you go through it. Instead, cut to one side of it – you’re about to use a cleat to bulk it out and support the weight of the new board. (A cleat is basically just an extra bit of wood.)
Start by predrilling three clearance holes into your two 16-inch cleats – this is where the screws will go in just a moment. Then apply construction adhesive to stick them to the joists, making sure their tops are pressed right up against the bottom of the existing decking boards. Now screw each one firmly to the joist, making sure that it’s as tight as it will go.
Maybe you’ll have pre-cut your board already, or maybe you’d prefer this as the time to do it. Whichever way round you choose, remember you’ll want the new deck board to be from matching material, both in thickness and in wood type. There are few things worse than mismatched decking! Predrill pilot holes into your replacement board, then tap it into place with a hammer – although make sure to put a sacrificial wood block in between them to shield it from the impact. Through the pilot holes, drive two 3-inch deck screws (or coach bolts), and screw them into the cleat underneath. Fasten at all the other joists too.
That’s all there is to it! Your new board might still look a little mismatched at first, but don’t worry – it’ll smooth out over time. If you want to hurry the process along, oiling and staining your decking will help bring all the boards to a smooth, even colour. You can click here to find out about the best way to stain your decking.
In the meantime, our friendly team at Savoy Timber are here to help with your every decking need. You can pop into any one of our stores in Preston, Wigan or Blackpool to get some face-to-face advice, or call us on 0345 0268 799. We’re here to help!
Don’t forget to follow us on Twitter: @SavoyTimber

