My Cart
0
You have no items in your shopping cart.
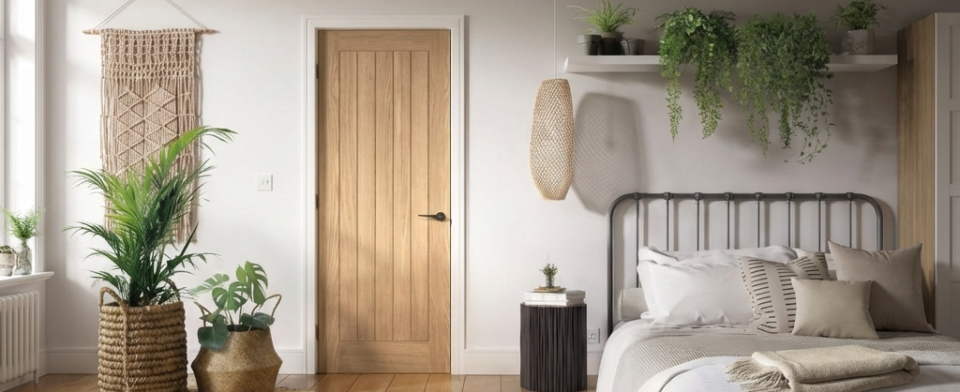
With winter nearly behind us, it’s time to start looking forward to spring. A season of renewal, it’s the ideal opportunity to revitalise your home – and it begins with updating your internal doors.
At Savoy Timber, we’re proud to be one of the UK’s leading stockists of home solutions, from sleek, contemporary doors to stylish composite decking. We’ve been helping homeowners improve their interiors for over 70 years now, and we know how much of an impact refreshing a tired door can have on a space. From preparing your fixtures to choosing the perfect shade, here’s how you can update your doors for spring.
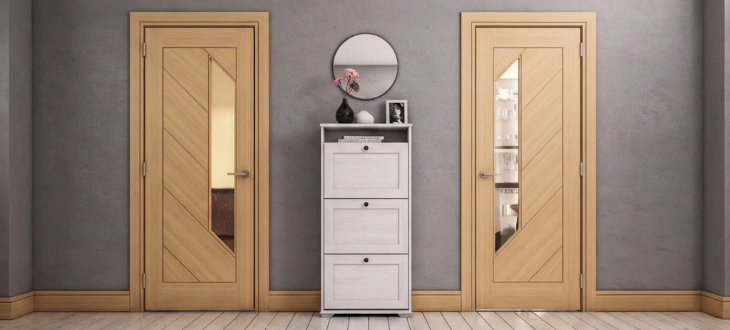
Before starting, it’s helpful to know what type of doors you have, as the preparation and painting approach depends on the material and finish. Working out what kind of doors you have isn’t always straightforward, especially if they were fitted years ago and the original materials or finishes aren’t immediately obvious. Here are a few of the most common kinds, with some simple ways to narrow them down.
From here, you’ll need to decide whether or not the door needs to be removed before you tackle this project. As a rule, this depends on the work you’re planning. If you’re sanding thoroughly, applying multiple coats, or working on detailed panelled doors, removing the door is usually the easiest and safest option. Lying the door flat as you work prevents drips, avoids vertical brush marks, and makes it easier to reach all areas. For lighter touch-ups, it’s possible to leave your doors hung, as long as you protect the floor with a drop cloth, tape the frame, and work carefully around the hardware. To achieve a really clean finish, you may also choose to remove handles and locks at this stage.
If you do need to remove the door, start by carefully taking out the hinge pins, using a hammer and nail punch if necessary, and then lifting the door straight out of the frame. Some doors can be heavy, so it’s best to have a second person on hand to help. Finally, lay the door flat on a sawhorse or chair.
For a long-lasting, premium finish, proper preparation is key. Begin by giving the door a good wash with mild detergent or sugar soap, warm water and either a sponge or a cloth to remove grease, dirt and other signs of everyday living. After another wipe down with just water, let it dry completely before moving on.
Next, prepare your door for its new look. Depending on its condition, this can mean two things: sanding or stripping. If the existing finish is flaking, peeling, or layered with multiple coats, stripping is the safest way to create a smooth base. However, if the surface is generally sound, careful sanding is usually enough to prepare it for repainting.
When stripping any door, always make sure that your specific model can handle your chosen method. For example, laminate doors generally shouldn’t be stripped; instead, we recommend sanding and priming. If you do need to strip a door, apply the product with a brush and allow the remover to soften the finish before gently scraping it off with a plastic or wooden scraper. Alternatively, if suitable, a heat gun can soften paint or varnish so it can be lifted away; keep the gun moving to avoid scorching, always wear gloves and eye protection and make sure you’re working in a well-ventilated space.
Whichever method you choose, it’s always worth erring on the side of caution and, if possible, checking with the manufacturer to make sure your specific model is suitable for the chosen preparation process. This also applies to sanding, as different types of doors require different kinds of grit. For example, laminate doors are more delicate, needing only a light scuff with fine-grit paper (220 grit or higher) to avoid damaging the surface. Remember: always sand along the grain, wipe away dust with a tack cloth or damp microfiber, and use a sanding sponge or small block for panelled corners and recesses.
Priming is an essential step if you want a long-lasting, professional-looking finish, helping the new paint grip properly and reducing the risk of peeling later on. Apply a high-adhesion primer in thin, even coats, allow it to dry fully, and lightly sand with very fine-grit paper before painting to remove imperfections like brush strokes.
Now, we’ve got to the really fun part – adding some colour! Spring is all about light, freshness, and renewal. Soft pastel greens, pale blues, blush pinks, and creamy neutrals bring a gentle, airy feel, while crisp whites or soft grey tones reflect light and make interiors feel brighter, just what you need after the darker winter months. Apply paint in thin, even layers and allow each coat to dry fully before adding the next; usually two to three coats are sufficient for a professional-looking result. Combining these colours with the right handles and accessories really completes the look; we recommend polished chrome levers for a modern touch or antique-style knobs for a more classic finish. From here, you’re free to hang your doors and enjoy your revitalised space!
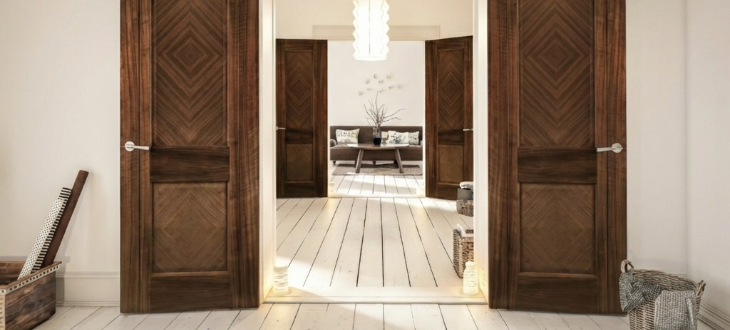
Those are the essentials covered! Of course, sometimes, your existing doors may be beyond a simple refresh – and if you’re looking for something new, we’re here to help. At Savoy Timber, we’ve got stylish internal doors perfect for all seasons and versatile enough for any home and finish. Looking to start with a blank canvas, ready to add your chosen topcoat? With our white primed internal doors, updating your space couldn’t be easier.
Whether you’re looking for doors, kitchen worktops or timber decking, we’ve got something for you, combining fast delivery, competitive prices, and a friendly team ready to offer expert guidance. To get started, don’t hesitate to pop into one of our stores or give us a quick call on 0345 0268 799 today.

