My Cart
0
You have no items in your shopping cart.
As the days start to get longer and the promise of spring is just around the corner, now is the perfect time to start planning garden projects that will help you make the most of the warmer months ahead. A timber pergola is a brilliant addition to any outdoor space, creating a defined area for dining, relaxing or entertaining while providing structure, character and visual appeal to your garden. So, why not build one yourself? It might sound daunting, but don’t worry – we’re here to help!
At Savoy Timber, we’ve been making it easy for homeowners and DIYers to transform their gardens for over 70 years now, offering everything from composite and timber decking to fencing and sleepers. With premium materials, expert advice and nationwide delivery, everything you need for a simple pergola build is right at your fingertips. With that in mind, let’s go through how to plan, prepare and construct a straightforward timber pergola that will be ready to enjoy as soon as spring arrives.
You will need:
Before you pick up any tools, it’s important to plan out your pergola properly. Start by deciding where it will be located and how you intend to use it – for example, will it cover a dining table? Are you trying to create a walkway through your garden? When plotting where to build the structure, pay attention to whether the ground can be levelled, and always make sure there’s enough clearance from fences, walls and trees.
Next, measure the space carefully and decide on the size. Sketching out a basic plan with measurements will really help to keep your build on track and make ordering materials much easier. After this, gather your materials and tools – we recommend using pressure-treated timber for all structural elements, made to resist rot, decay and insect damage.
Start by marking out where your four pergola posts will sit, using string lines or markers to ensure everything is square and evenly spaced. Next, dig your post holes to a suitable depth, generally around a third of the post’s length, and add a layer of gravel to the bottom of each hole for drainage. Now, place each timber post into its hole, checking that it’s straight using a spirit level. Once you’re happy with the position, secure it in place using post mix or concrete and allow it to fully set before moving on.
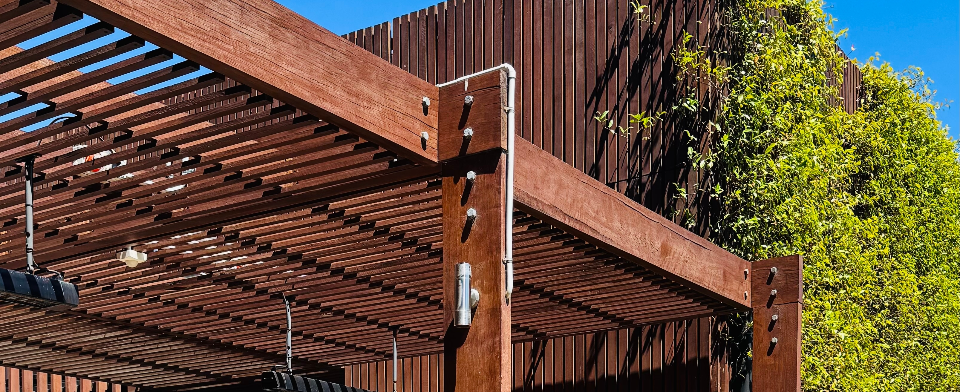
Once the posts are secure, it’s time to attach the four main horizontal beams. These run between the posts and form the square structure that supports the roof slats. Lift the beams into position and clamp them temporarily if needed. Check that they’re level, then secure them using exterior-grade bolts or heavy-duty screws. Take your time here – well-aligned beams will make the rest of the build much easier.
The final structural step is adding six to eight top slats or rafters. These are usually spaced evenly across the pergola to create the open roof effect. Measure and mark out spacing consistently before firmly securing each slat, checking alignment as you go. At this stage, you’ll really start to see your pergola take shape!
Now, it’s time for the finish. Although our timber is expertly pressure-treated, we always recommend adding a layer of protection or colour by using a timber stain or exterior wood paint – this is a great way to match your pergola to other timber structures like decking or fencing. Once this dries, you can personalise your pergola by hanging outdoor fairy lights, lanterns or climbing plants like jasmine or wisteria. Job done!
Whether you’re interested in buying materials to give this project a go or are looking for timber decking, fencing or sleepers to further transform your garden, we’re here to help. With competitive prices, fast national delivery and knowledgeable staff available seven days a week, we’re dedicated to making your projects straightforward from start to finish. To get started, you can explore our website, pop into one of our stores or give our friendly team a call on 0345 0268 799 today.

