
My Cart
0
You have no items in your shopping cart.
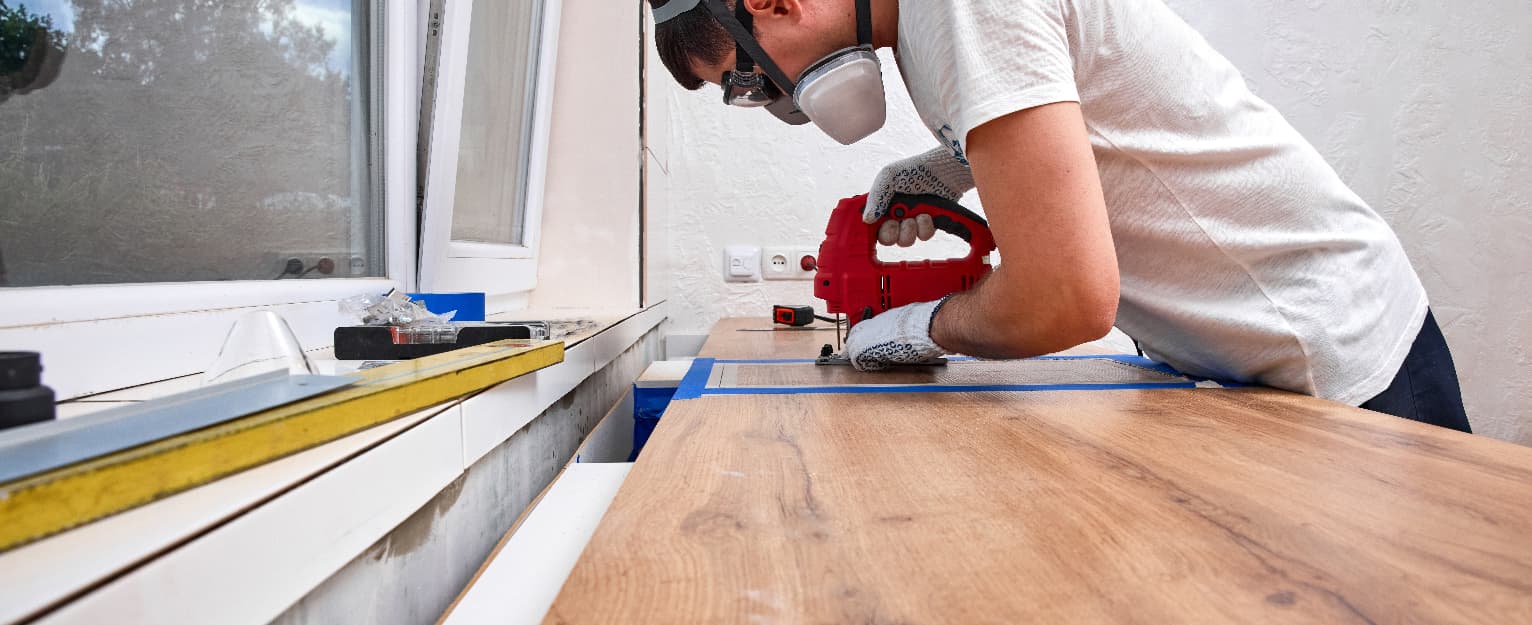
As experts in made-to-measure worktops, we’ve seen time and time again how much of a difference a well-fitted surface makes in a kitchen, completely changing how a space feels and functions. On first glance, it looks like a straightforward job – but in reality, even experienced DIYers can easily run into trouble.
We recently covered cutting timber to size in another of our blogs, where worktops came up as one of the trickier examples to get right. Now, we’re taking a closer look at the practical side of it all and answering the question we get asked again and again: ‘How do I cut a kitchen worktop to size without it going wrong?
In many cases, problems don’t begin when you’re actually cutting a kitchen worktop; instead, they start much earlier, at the measuring stage. This is because while it’s easy to assume a kitchen layout is square and consistent, in reality, walls shift, corners vary, and units rarely sit in perfectly straight lines.
We’ve seen plenty of cases over the years where a worktop has been cut exactly as measured, only for installers to discover a tight fit in one corner and a visible gap in another. That’s why relying on a single measurement is rarely enough. Taking time to check several points along the run of units and comparing them properly makes a noticeable difference to how smoothly everything comes together later on.
When people wonder how to cut a worktop, the focus often lands on technique – but in our experience, the tools doing the work are just as important as the person using them. Worktops are dense materials, and they don’t forgive blunt blades or rushed cutting, with common issues including chipping along the edge or a slightly rough finish that becomes very difficult to hide once the worktop is fitted. Over the years, we’ve noticed that the cleanest results almost always come from preparation rather than pressure. Often, the key is consistency, maintaining a slow, controlled cut that follows your marked line without drifting.
It’s also worth remembering that different worktop materials call for different tools. Solid wood worktops are generally best cut with a circular saw fitted with a sharp, fine-tooth blade, helping to produce a clean, accurate edge while reducing the risk of splintering. Laminate worktops can also be cut with a circular or track saw, using a fine-tooth blade that’s suitable for laminate to help minimise chipping along the decorative surface. Solid compact worktops are much denser, so they’re typically cut with a circular or track saw fitted with a blade specifically designed for compact laminate or other high-density sheet materials.
If there’s one area where even confident DIYers get caught out while cutting a kitchen worktop, it’s support. It sounds simple, but if the work surface isn’t fully supported and secured, even accurate marking and good tools can be undermined. For example, a worktop that flexes even slightly during cutting can pull the blade off-line without it being immediately obvious, stopping the edge from sitting flush or aligning cleanly with adjoining sections.
We’ve seen this happen enough times to say confidently that a stable setup is not optional. Full-length support, secure clamping, and a clear cutting path all help keep the line true from start to finish, so you can avoid frustrating mistakes caused by shifting, wobbling or drifting mid-cut.
As with most projects, it’s often the finer details that determine how ‘finished’ the end result looks. Cut-outs for sinks and hobs, for example, need to be approached with meticulous care, paying close attention to accurate measurements and suitable clearances. If tolerances are too tight, fitting becomes difficult; if they’re too loose, the finish can look untidy or require additional sealing to hide gaps.
Joins between worktop sections also need proper thought. A poorly planned join can stand out far more than most people expect once the kitchen is in use, especially where surfaces are expected to flow naturally across a run of units. These are the areas where experience really shows!
Once you’ve successfully cut your worktop, there’s still an important final step that shouldn’t be rushed. Over the years, we’ve seen well-installed kitchens deteriorate early simply because cut edges were left exposed or only lightly treated, which is why sealing is so essential. For laminate worktops, this means carefully applying an edging strip, which helps to seal the exposed surface, protect it from moisture ingress, and give the cut edge a clean, factory-finished look that blends neatly with the rest of the worktop.
There’s a reason why cutting a kitchen worktop can be such a daunting task, and it’s because once work begins, there’s very little room for error. A few millimetres out or a slightly uneven edge can quickly turn into a visible issue once everything is installed, which is why so many people turn to a professional instead.
This is where our cut-to-size service comes in. Instead of you having to manage every measurement and cut on-site, we can prepare your worktops to your exact requirements before they leave us, removing a lot of the uncertainty from the process and helping to ensure everything fits as it should from the start. Our expert team use specialist commercial wall saws and jigsaws to precisely tackle even the trickiest cuts, and can even fit your edging strip for added convenience.
So, whether you want to try it for yourself or you’re looking for a bit of extra help, we’ve got you covered. At Savoy Timber, we combine premium worktops with practical support, and our aim is simple: to help you create a space that works properly and looks the part without unnecessary stress along the way. After all, DIY should feel achievable, not overwhelming, and we’re here to support that process seven days a week with reliable products, helpful guidance, and competitive pricing across our entire range. To find out more or to speak to a member of the team, give us a call on 0345 0268 799 or visit one of our stores today.

